I’ve just used this technique to make the Sew Chic Tia Dress and it works so well I thought I’d share it.
Here are the bodice pieces from the Tia dress. I’ve sewn the upper bodice pieces together and on the centre seam I’ve marked the point 1.5cm from the centre front and lower edge with a dot and finished my stitching there.
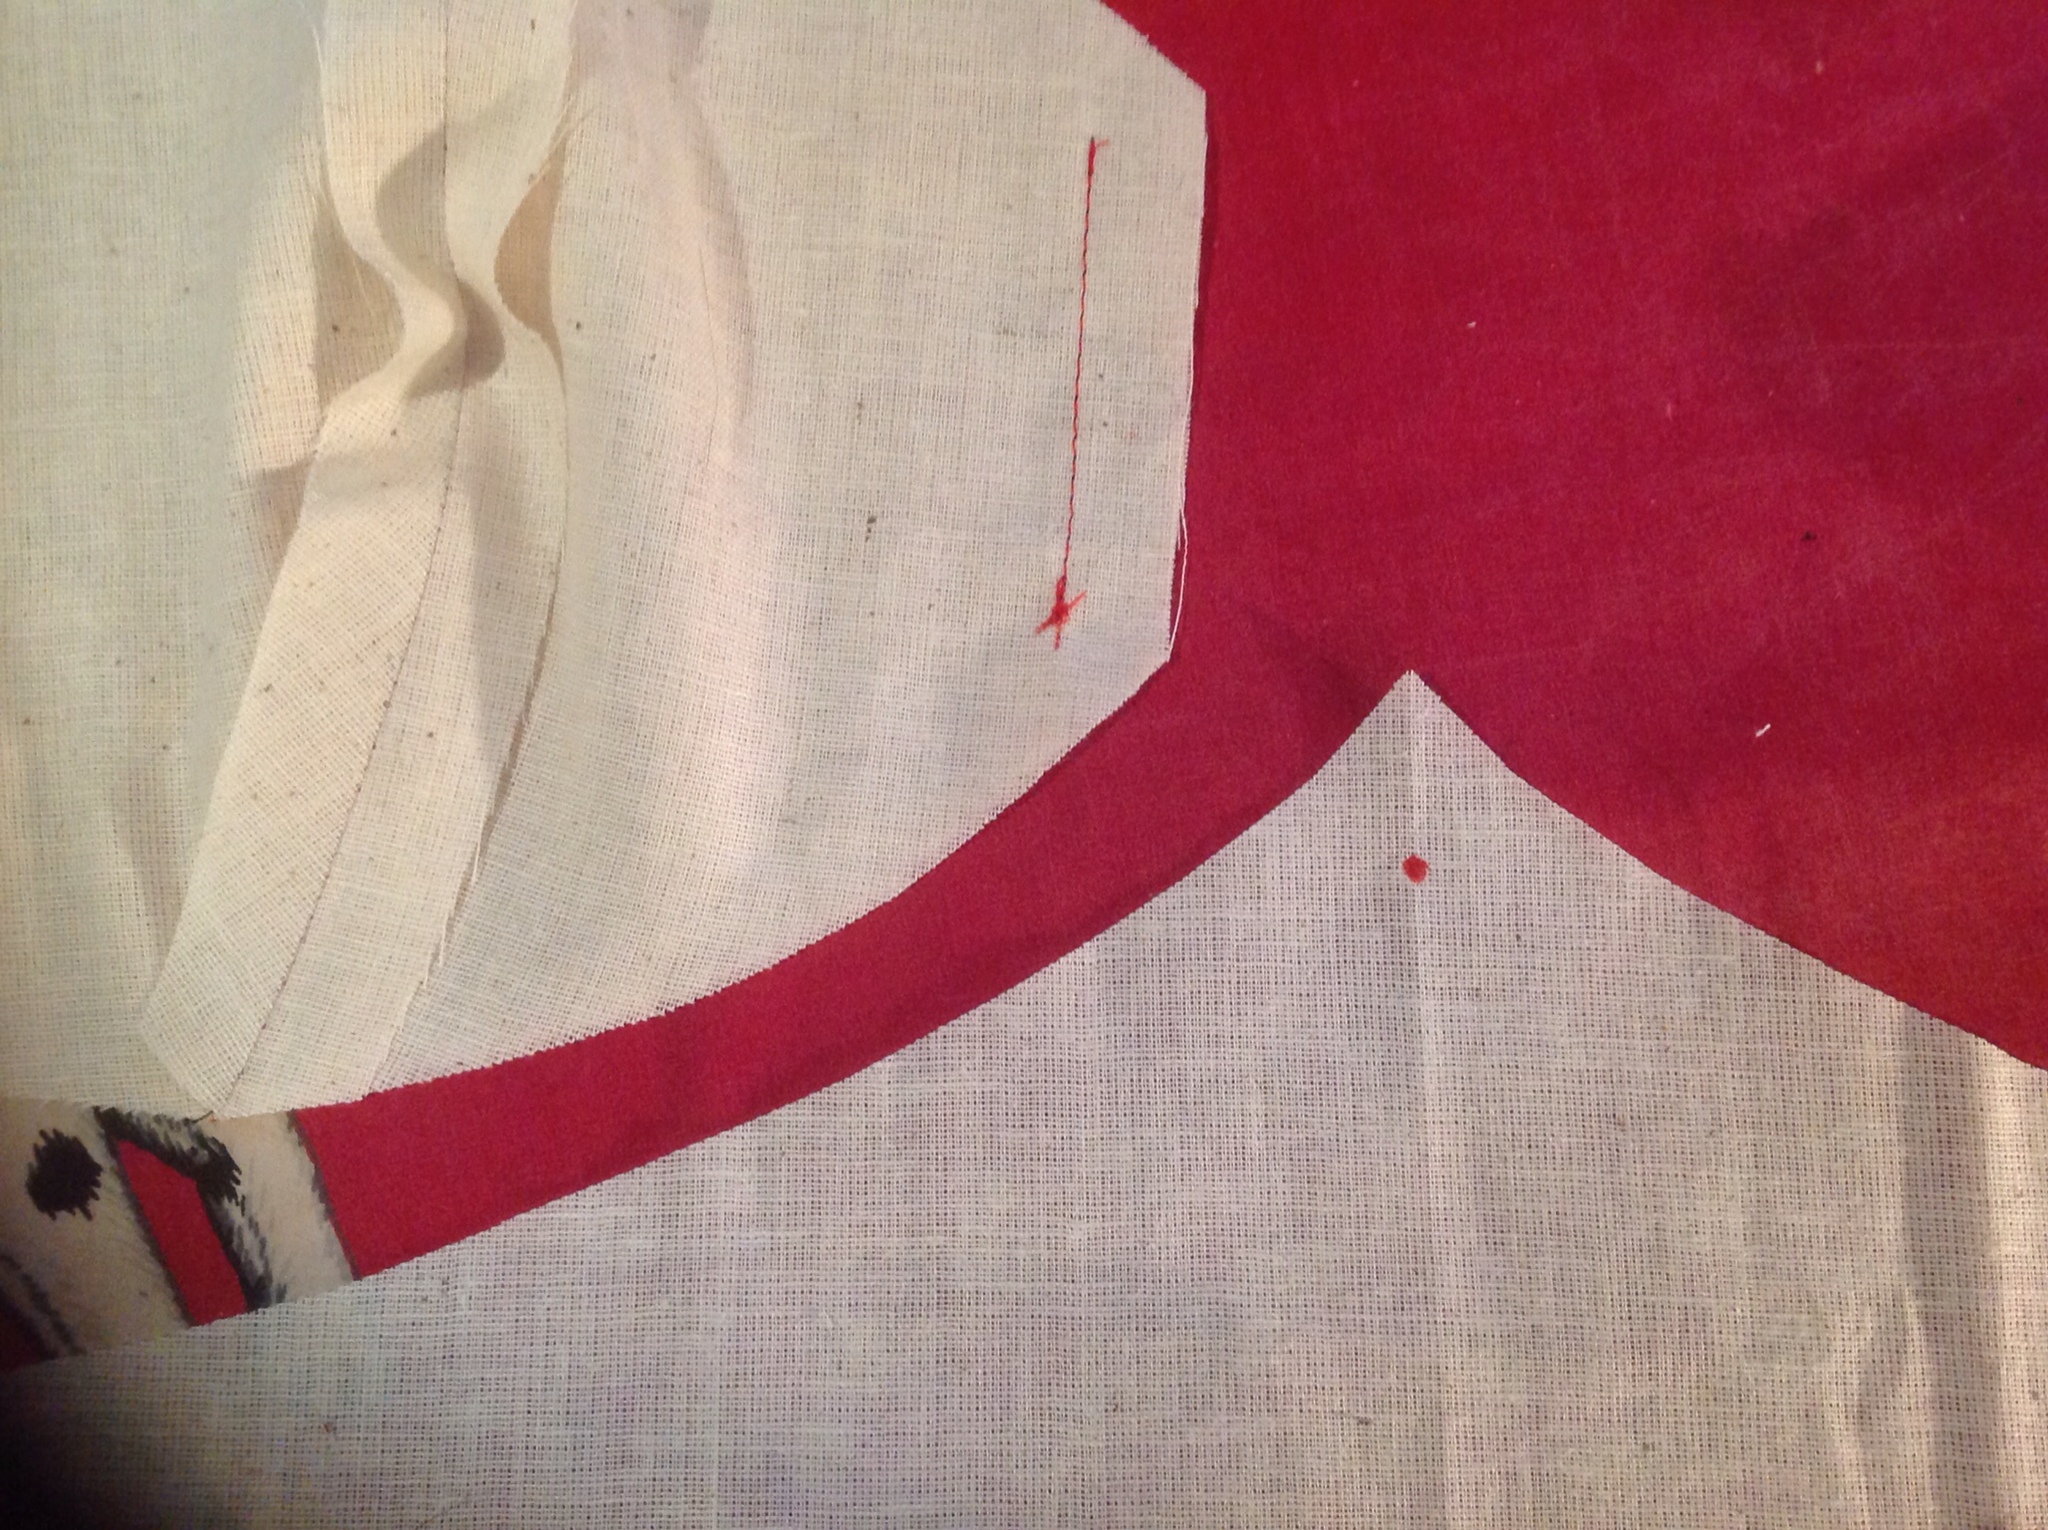
Pin the upper bodice to the lower bodice matching notches and the centre front dots.

Stitch each side of the seam separately. Hopefully you can see that I’ve sewn off the edge on each side a little. There is a minute gap at the intersection which will allow the intersecting seams to lay perfectly flat.
In case it’s not clear here it is with some lines to help show the gap. The blue lines show the positions of the edges and the centre front seam, the yellow lines are the stitching. The gap is very small, only the width of a stitch.

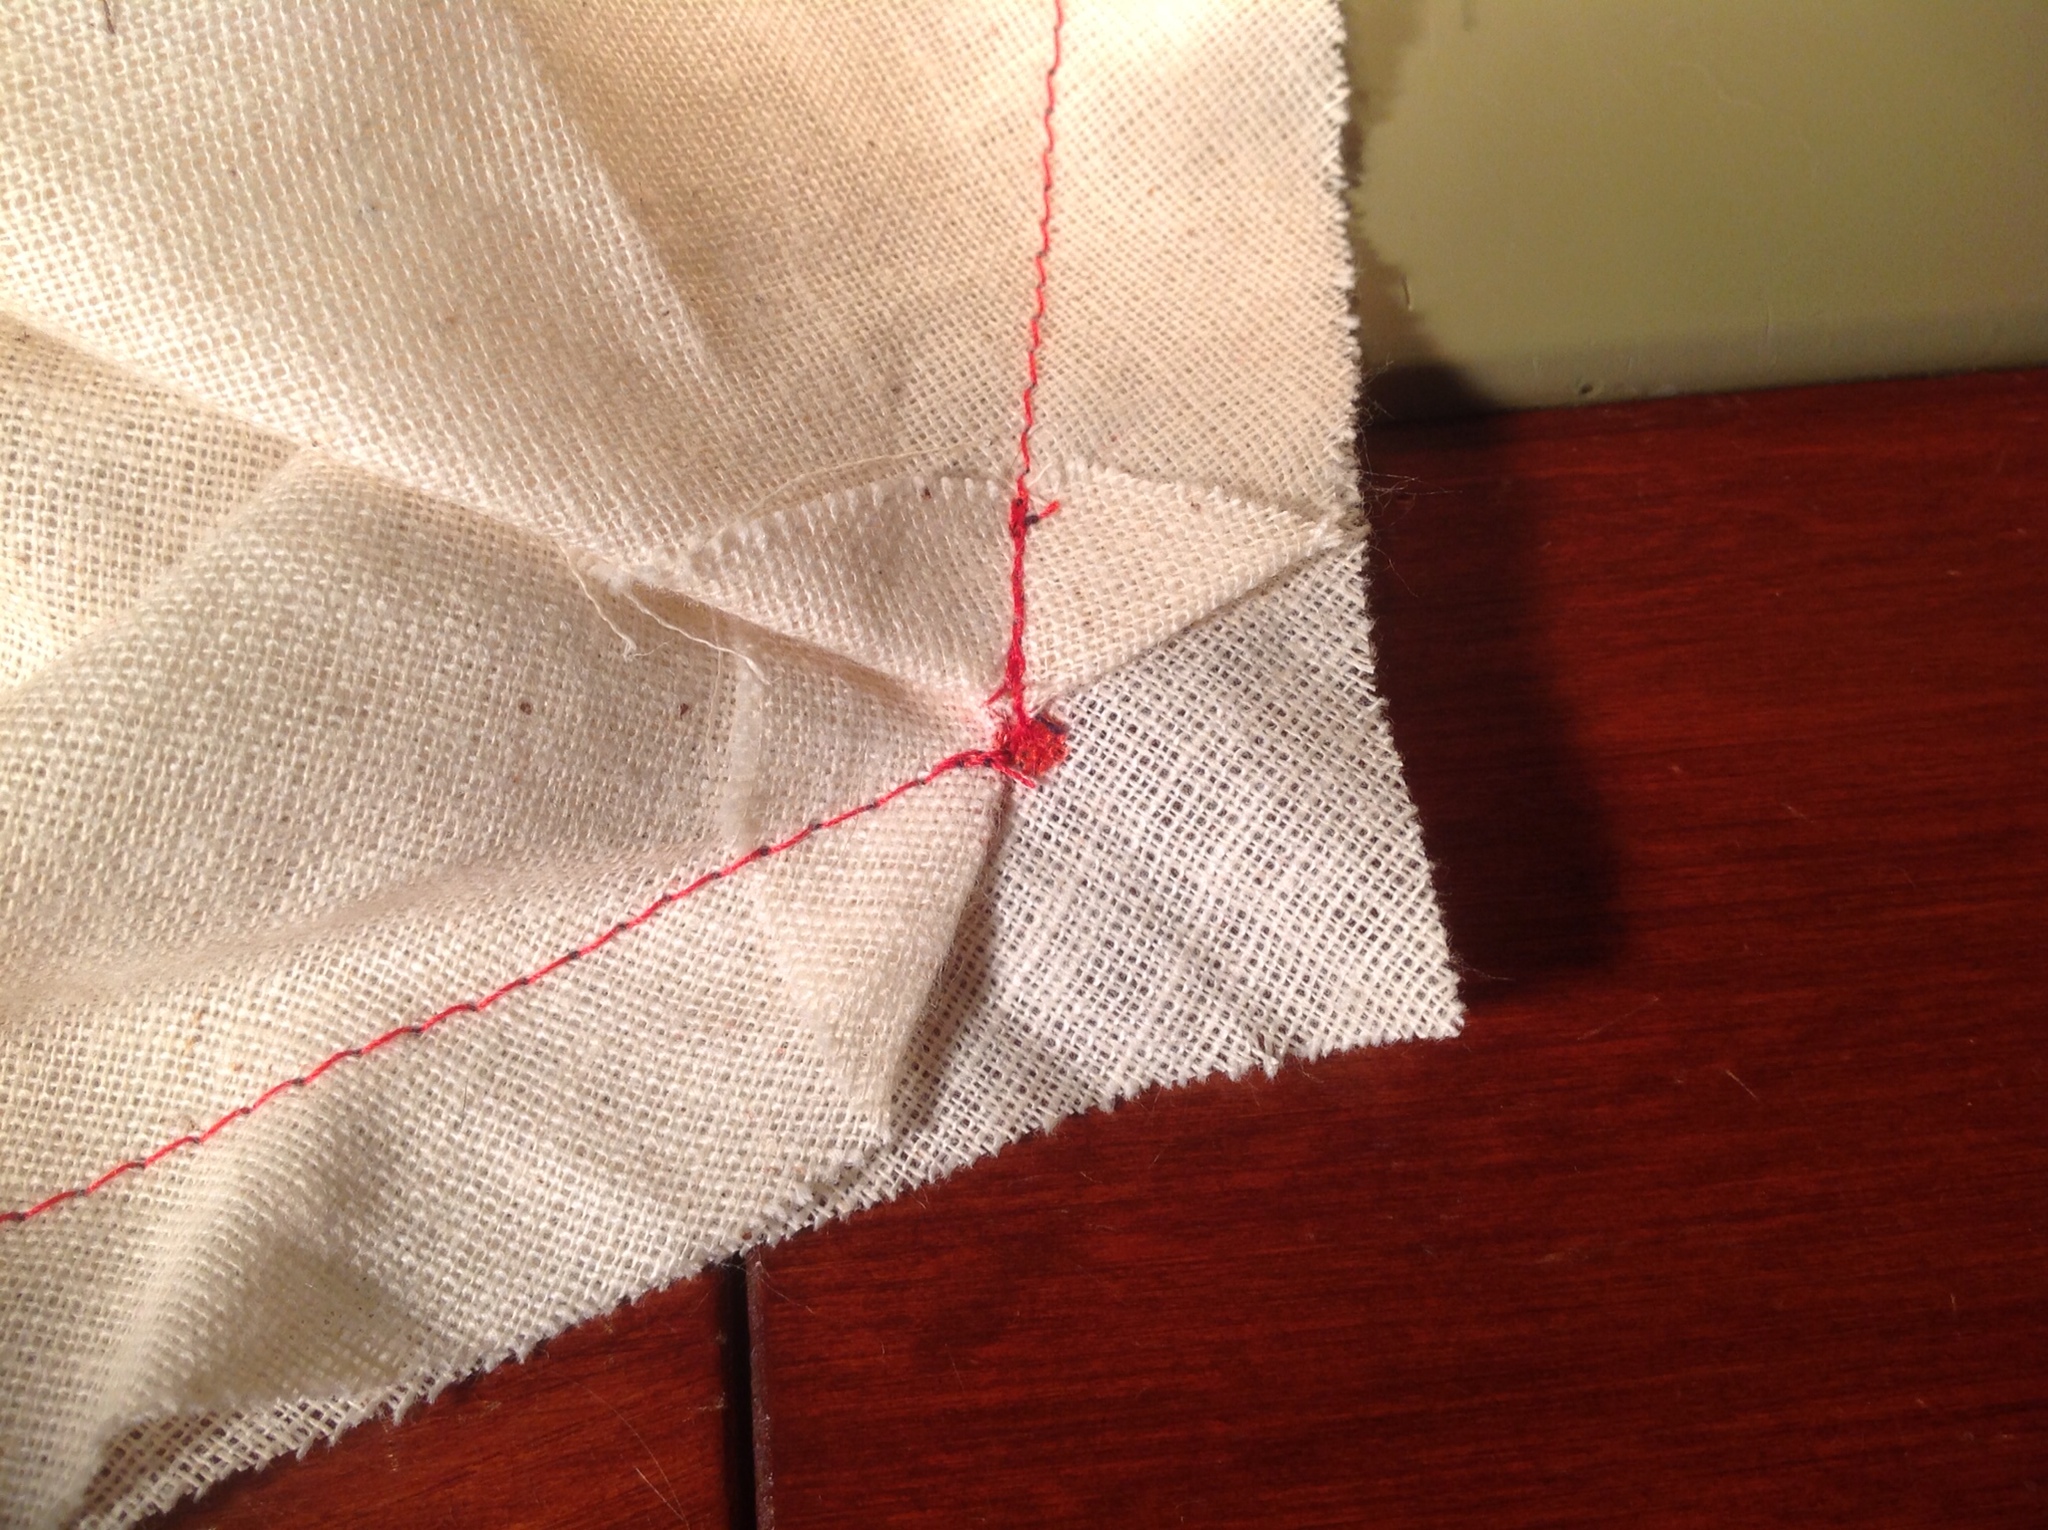
Clip seams and trim the point a little. Press one side of the seam open.

Then press the other side open creating a neat fold with the excess fabric at the point.

Et voila!


Great tutorial – many thanks! You make it look easy.
Thanks, I hope people find it easy. I definitely found it easier to do it this way than having to try wrestle all the fabric from one side to the other when in the pointy part of the seam.
Thanks for sharing this, I’ll try it for sure!
This is a awesome tip, I gonna try it on my Giselle dress for Frocktober.
Thanks, I hope it works well for you. I’ll keep an eye out for your completed Giselle on The Monthly Stitch 🙂
Hi, I’m new to ‘adult’ dressmaking and about to embark on the Flirty dress Craftsy class. Could I ask, what is your lining material called? I’m guessing it’s some kind of cotton. I hate synthetic linings so want to line with cotton.
Thanks
Hi Gina, I used a fine cotton fabric for the lining. I much prefer natural fibres too, especially for linings that are against my skin. I sometimes use a thin silk, pretty much anything I can find that’s cheap